
I don't consider myself a dumpster diver, but when someone throws something like this away, I just have to stop and take a look. In this case, it turned out to be two pieces of solid white oak, probably from a piece of IKEA furniture that fell apart due to those great fasteners they use. Anyway, Mary had been after me for a long time to build a coffee table and I figured this would be just the thing for the table top.

Mary wanted something that would double as a storage space to throw all of our clutter in when the mother-in-law suddenly announces she's coming over. I sketched out a few ideas thinking she would want the one on the bottom but she chose the top one without hesitation because it "would hold more stuff".

I was planning on using select pine lumber but found that it would cost over $50 just for two 1x6x12 pine boards (select grade). I went to a cheaper grade but everything was warped and covered with sap. Just when I was about to fork over the $50, I remembered the cedar fence boards I had used to build my raised garden bed. They were nice and straight and, best of all, cheap! Why not use them to build a piece of furniture with that "distressed" or "reclaimed" wood look? So I picked up five choice boards for 15 bucks.

After a few days of tinkering around with different ideas and a LOT of sanding, I ended up with this as my table base. Not bad for lowly cedar fence boards, and it's really sturdy.

Here's a corner view. As you can see, it's constructed with simple but joints - nothing fancy. Now I just had to figure out what type of finish to put on it.
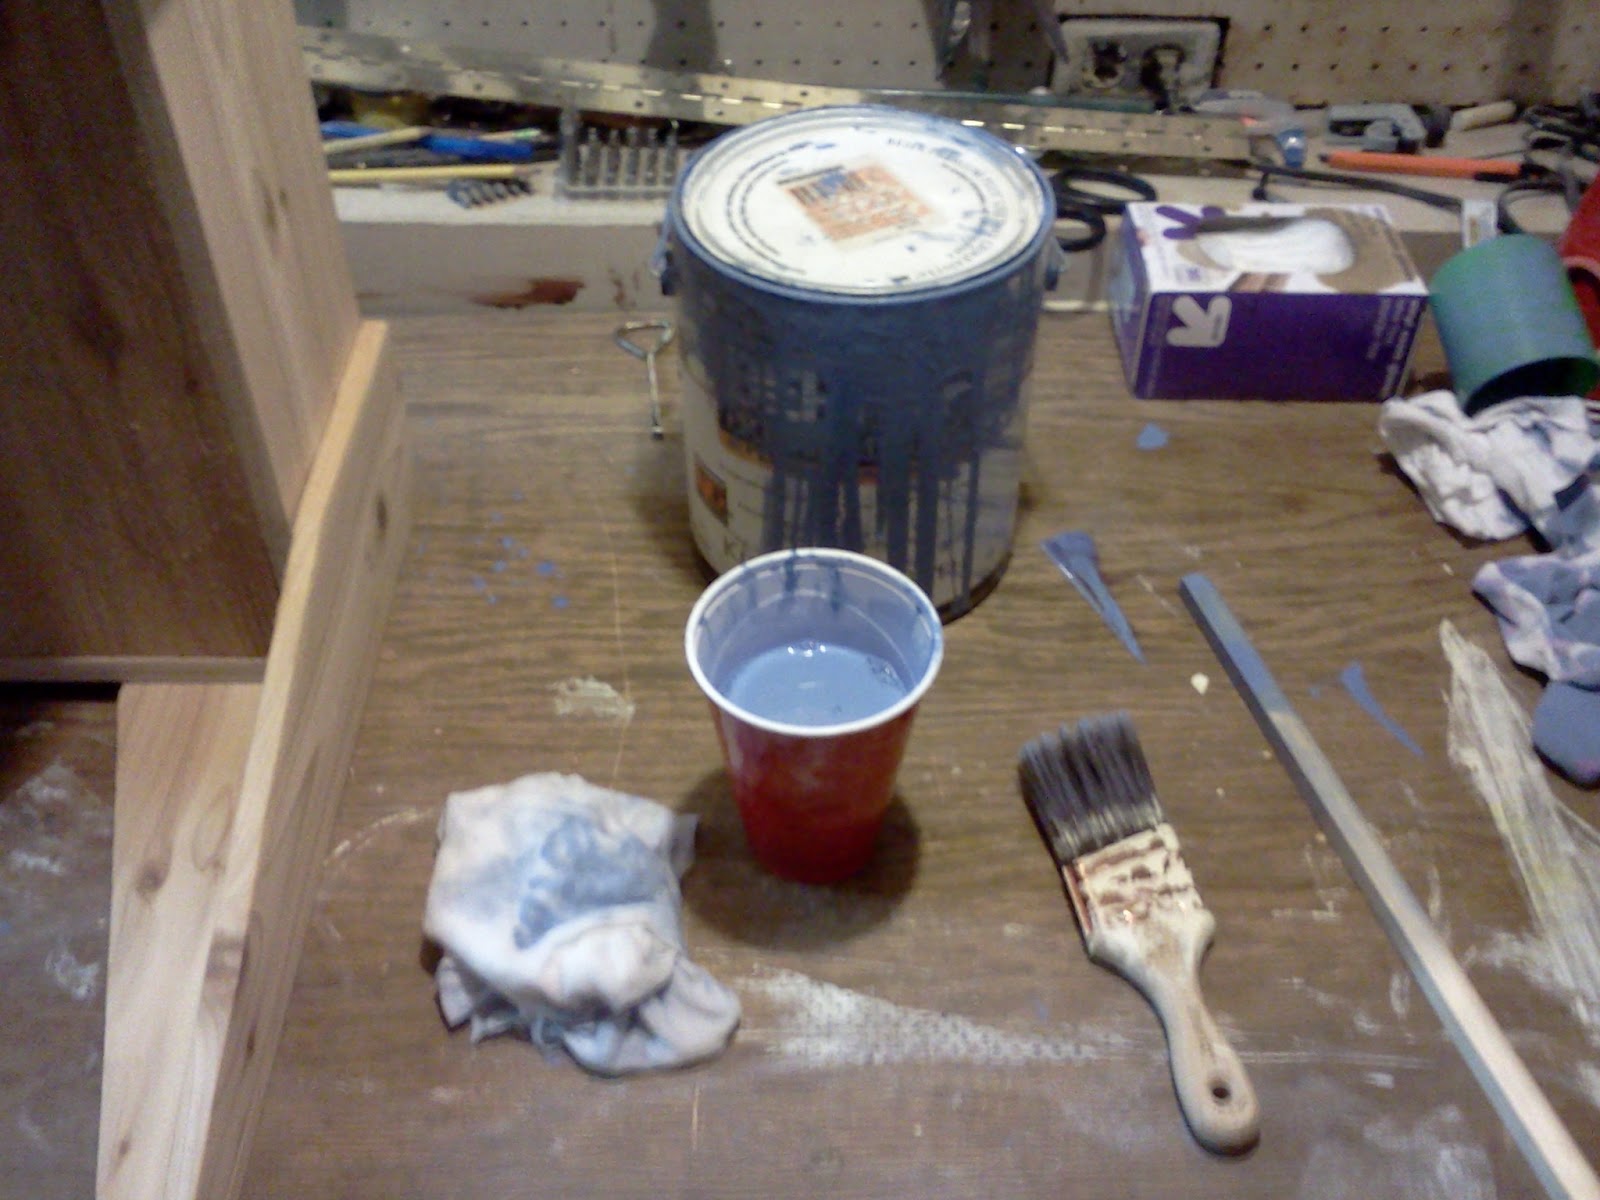
We needed some color in our rather drab living room so I decided to try a method called "color washing". All this required was some leftover latex paint we already had on hand, water, a brush and a damp rag. I found that two parts water to one part paint was the right ratio to give me the color intensity I was looking for. Just brush it on and wipe it off with a damp rag. It's that simple.

Here's a close up so you can see the effect of color washing. I really like this technique because you get the best of both worlds. You get beautiful color, plus you can still see the wood grain almost as well as you could if it had been stained. You can also make it as dark or as light as you want simply by changing the amount of water you mix into the paint.

And here's a view of the roomy, clutter-stashing interior with the piano hinge ready to receive the top.
...The top. Oh yeah, that's what got me started on this whole thing.

Here's that ugly old table top I found in the alley after a LOT of sanding, one coat of special walnut stain, and one coat of polyurethane. Two more coats of poly with sanding in between each coat and it'll be ready to attach to the base.

And here it is - the final product!

As you can see, it has lots of clutter-hiding storage space. Mary loves this!

I estimate the cost of making this piece at about $40. The tabletop was found and the paint, stain, and polyurethane I already had on hand. I had to buy six cedar fence boards, a 2x4 sheet of underlayment (for bottom of inside box), a continuous hinge, and a spray can of "clear coat" to protect the paint job.
I hope this post helps anyone who may be thinking of building something similar. Please feel free to ask questions or leave constructive criticism. I would love to hear from you.
Alan,
ReplyDeleteOur first comment was, "Whoa, he's getting good!"
Our second comment, "What a beautiful piece of furniture."
Our final comment, "Man we wish we could hang out with Alan and Mary more. We are missing out."
Impressive job. Well done!
Leslie and Chris
Thanks for the kind words, Leslie. We really miss you guys around here as well.
DeleteThis comment has been removed by a blog administrator.
ReplyDelete