
This is just one of a series of posts I plan to do on some of the woodworking/re purposing projects I've done for our home. I really wish I had taken pictures of the process of making this, but I wasn't blogging at the time. I feel like I need to post these projects because I get most of my best ideas from scanning the Internet for images of furniture that other people have made and graciously taken the time to post pictures or videos of. These posts are my way of giving back to the "DIY" community that has helped me so much. I hope this helps or inspires someone else out there.
So here's the story: A neighbor who lives a few doors down was getting rid of an old outdoor teak dining set that looked very much like the table and chair in the stock photos below. Just imagine them covered with grime, weather worn, and falling apart.


They asked if we wanted them, and I immediately said "yes" of course. I scrubbed them down and fixed them up and we actually used them as an outdoor dining set for a few years. Eventually, Mary wanted me to get rid of the set because it was just too big, heavy, and cumbersome for our small back yard.
At this point I had done some research and found out the set was made of teak wood, which is a beautiful hard wood often used for outdoor purposes because it has natural oils that resist rot and decay.
To make a long story short, I took the whole table apart, sanded each piece of wood and created the table for our breakfast booth you see in the first picture and the one below.

I wish I had a dollar for every hour I spent sanding this table top. It was worth the effort though. One of the interesting characteristics of teak wood is that boards from the same tree will have different colors and grain patterns. We absolutely love this table because these patterns and colors make it so unique. My camera can't really capture the affect very well but hopefully you can see what I mean. The color and grain didn't really come out fully until I put on the polyurethane. I used three coats, sanding in between each coat with 220 grit sand paper.

The original set came with four chairs. I had to do some rather extensive repair work on two of these as they were falling apart. Nothing that couldn't be fixed with wood glue, screws, and angle irons.

After fixing up the chairs, I made some cushions for them by cutting a piece of plywood to fit across the two chairs. We bought a huge piece of furniture grade foam. This was the most expensive part of the whole project. If I remember correctly, it cost around $100 just for this piece of foam but it was big enough to cut two bench cushions out of. We decided to go with vinyl upholstery so it would be easy to clean.
I turned the cushion over for these two pictures so you can see how I just wrapped the foam like a present, pulled it tight, and stapled it to the plywood. They key here is to pull each section as tight as you can with one hand while you are stapling it with the other.


Here's a view of the cushion sitting on the chairs. It connects the two chairs together creating a bench. As you can see, I cut all of the arms off of the chairs except for the one that would go up against the wall on each bench. This is not for structural reasons. I just thought it would make the bench more interesting to have something left of it's original form. This was my first (and only to date) attempt at upholstery and, as unsophisticated and simple as it is, we have been using these benches every day for over a year now and they have held up perfectly. Another thing worth noting is that I had to cut a few inches off of the chair legs to make the benches the correct height because of the thick foam cushions.

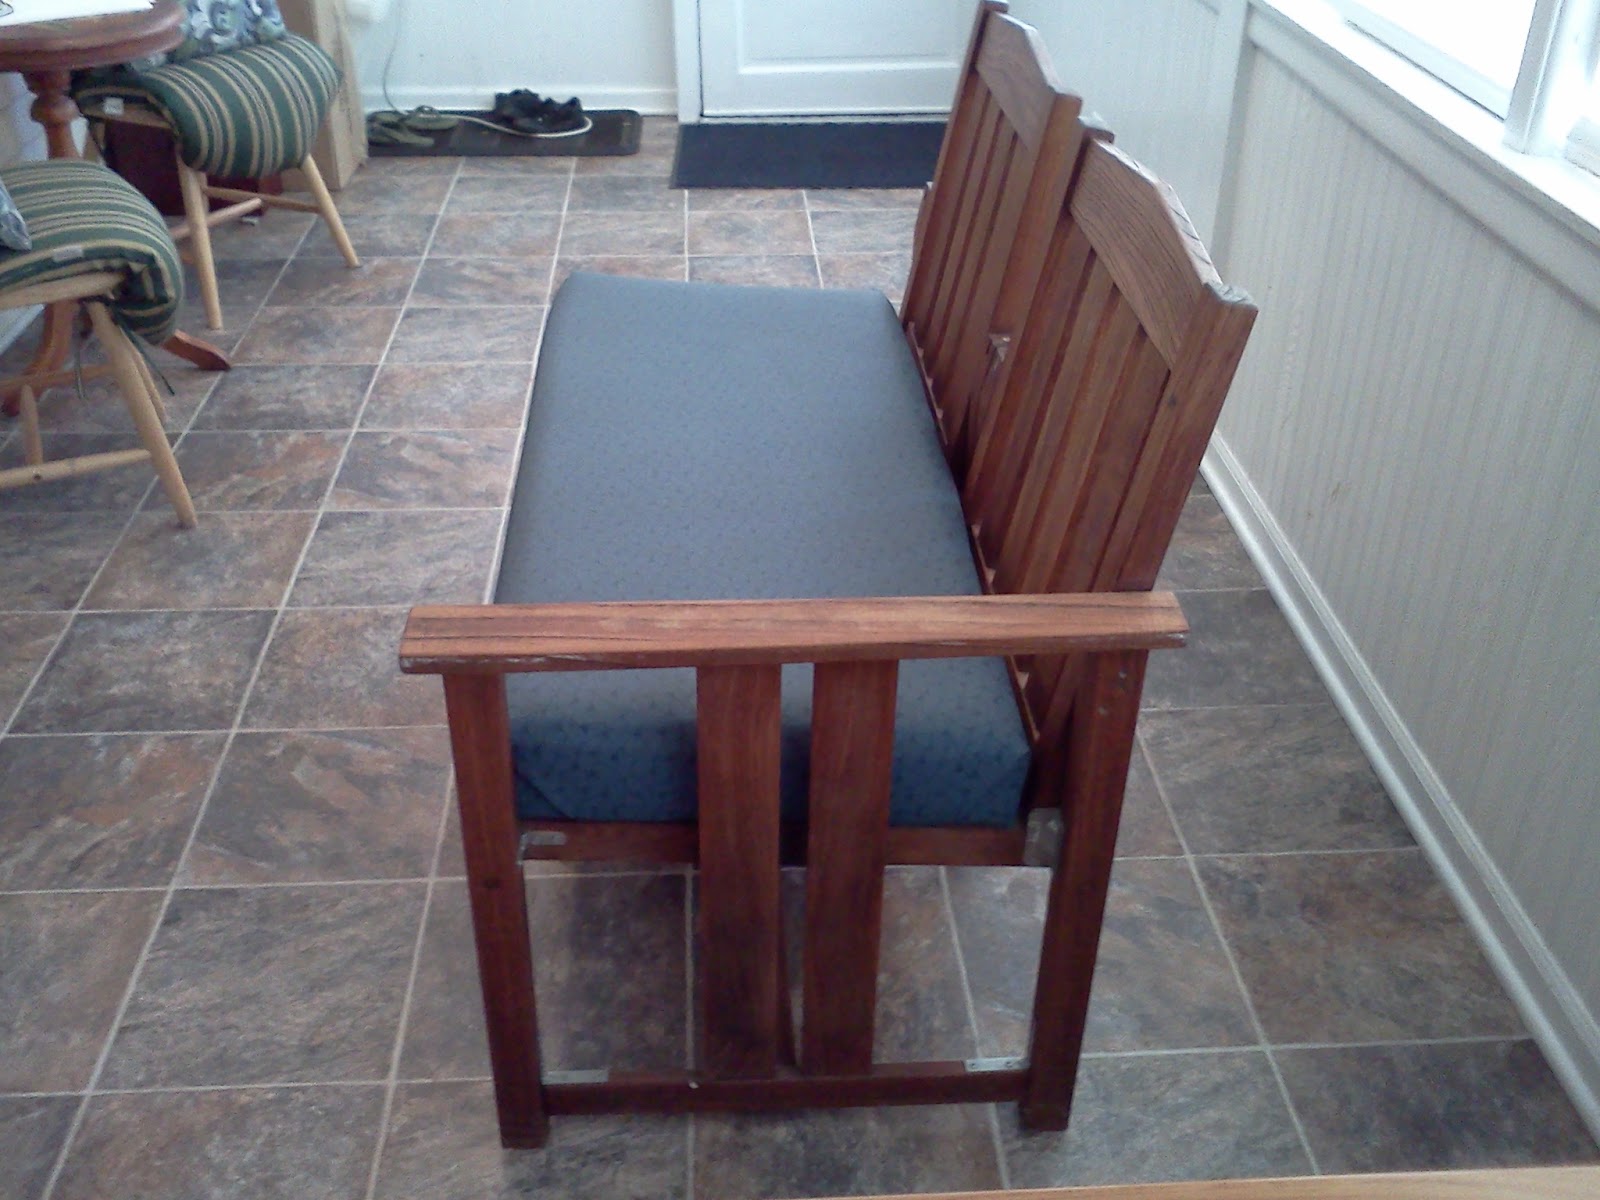
Here's the view from the back. I decided to finish the wood on the benches with Teak Oil instead of polyurethane since they wouldn't get the same daily abuse as the table top and I wanted a more natural look.

And here's a view to show you how this piece fits into the overall context of our back room, which used to be a back porch but now functions as our every-day eating area right off of the kitchen.
So the moral of this little story is, if you ever get your hands on an old set of outdoor teak furniture, don't throw it away! As grungy as it may look on the outside, there's beautiful wood waiting to be worked under that deceptively ugly facade.
All I can say is, "WOW"! Re-purposed wood is so beautiful, isn't it?
ReplyDeleteI too am just getting set up to start blogging, for the same reasons.
Have fun and keep on building, you're doing a wonderful job! Val
Thanks, Val! It's nice to hear from like-minded people. I will be posting a few other re-purposed pieces soon. Send me a link when you get your blog up and running. I'd love to see what your doing.
Delete